


Gemini CLI is an open-source AI agent from Google that runs in the terminal, with built-in tools for file operations, web search, and code execution, and extensibility through MCP servers. This guide covers installation, authentication, configuration files, the built-in tool set and its permission model, shell mode, extensions, MCP server setup (GitHub and Cloud Run), and practical workflows spanning code generation, file organization, multimodal image processing, database queries, and mock-data generation.
Introduction
Gemini CLI is Google’s open-source AI agent for the terminal. It goes beyond a chatbot: it executes tools, manages files, searches the web, and orchestrates multi-step workflows through the Model Context Protocol (MCP).
This guide covers installation and authentication, the built-in tools and their permission model, MCP server setup (GitHub and Cloud Run), customization via config files, and practical workflows — code generation, file organization, database queries, and automation.
Prerequisites. You can follow along entirely in Google Cloud Shell, where Gemini CLI is pre-installed, or on a local machine with Node.js 20+, the Chrome browser, a Google account, and basic command-line familiarity.
Installation
Gemini CLI comes pre-installed in Google Cloud Shell. Activate Cloud Shell from the Google Cloud Console and confirm it is available:
gemini --version
Initial Configuration
Theme
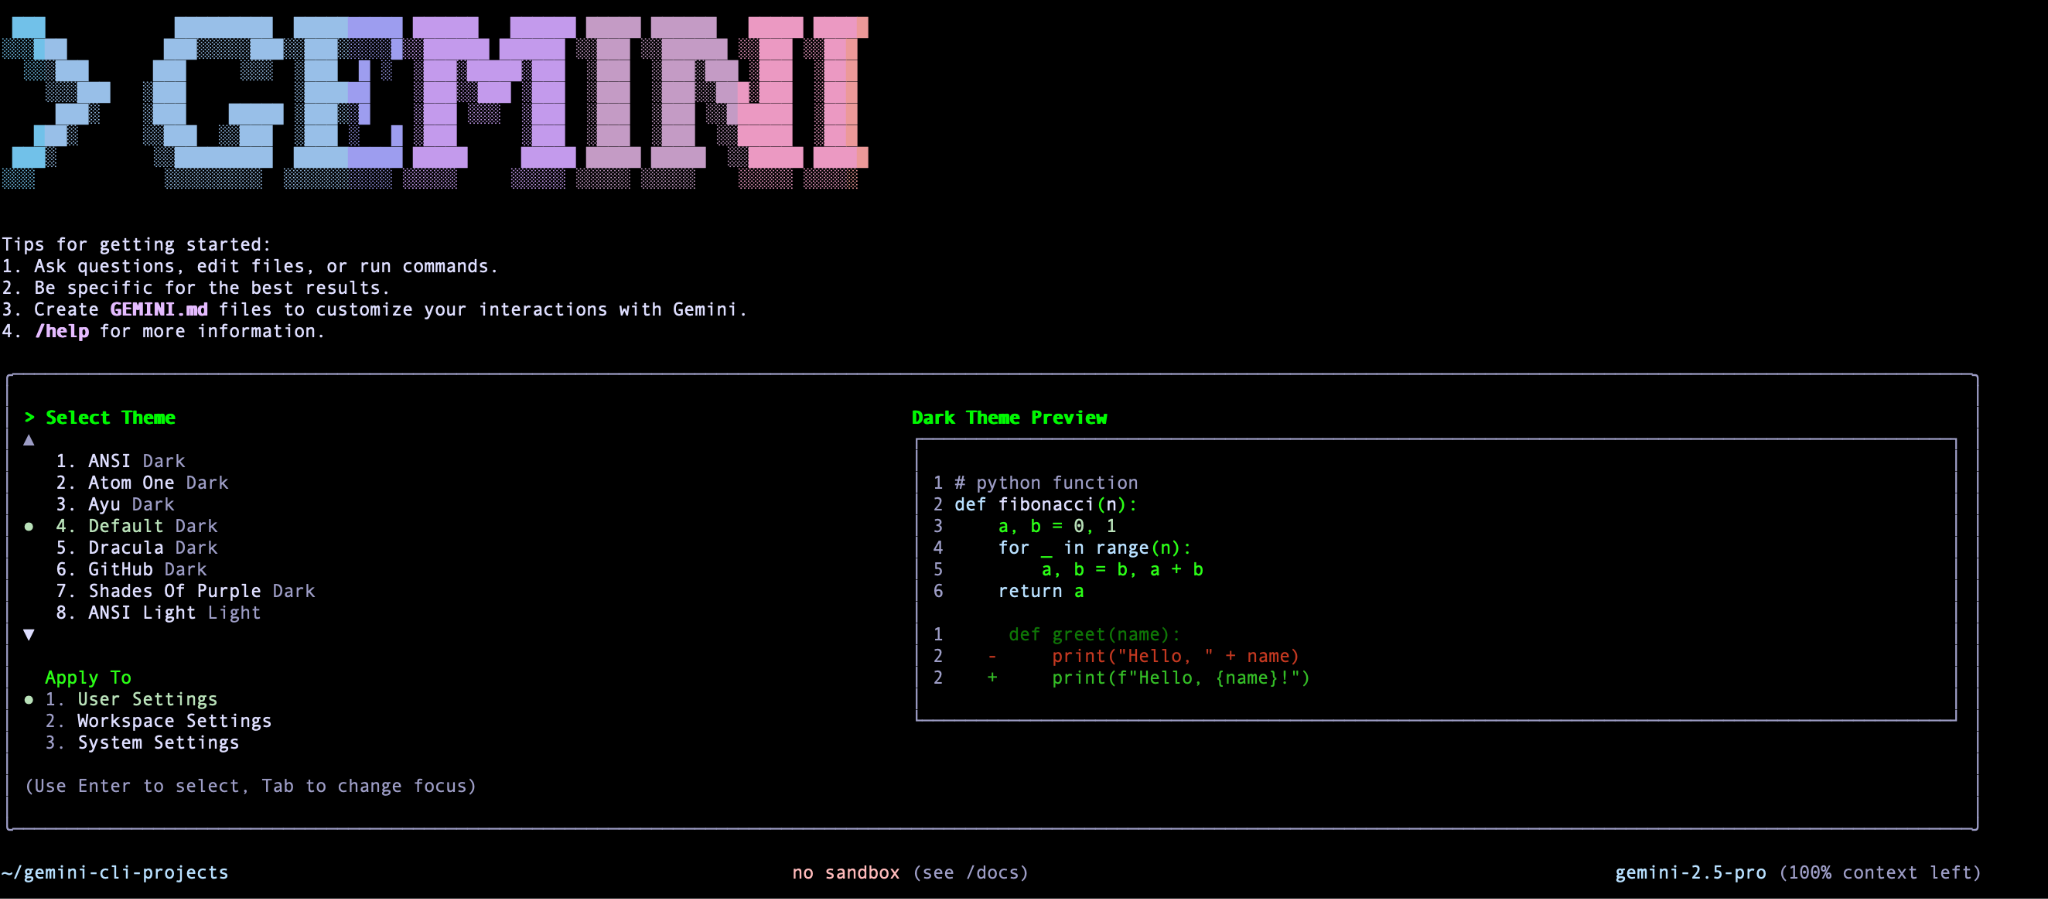
On first launch, Gemini CLI prompts for a visual theme. Pick whichever you prefer.
Authentication
Three authentication methods are supported:
- OAuth (personal account) — recommended for individual use. Free tier: 60 requests/min, 1,000 requests/day, with access to Gemini 2.5 Pro and its 1-million-token context window.
- API key — for programmatic access.
- Google Cloud Vertex AI — for enterprise deployments.
For this guide, use OAuth with a personal Google account. The flow opens a browser window; once you grant permissions, the CLI is ready.
Configuration Files
Settings live in settings.json, resolved in this precedence order:
- System —
/etc/gemini-cli/settings.json(all users, highest priority) - Workspace —
.gemini/settings.json(project-specific) - User —
~/.gemini/settings.json(personal)
Platform-specific paths:
- Linux / Cloud Shell — User:
~/.gemini/settings.json· System:/etc/gemini-cli/settings.json - Windows — User:
%USERPROFILE%\.gemini\settings.json· System:%ProgramData%\gemini-cli\settings.json - macOS — User:
~/.gemini/settings.json· System:/etc/gemini-cli/settings.json
A minimal settings.json:
{
  "theme": "Default",
  "selectedAuthType": "oauth-personal"
}
First Interaction
Launch the CLI:
gemini
Ask something that needs live data:
Give me a famous quote on Artificial Intelligence and who said that?
Expected response:
GoogleSearch Searching the web for: "famous quote on Artificial Intelligence and who said it"
...
✦ "The development of full artificial intelligence could spell the end of the human race." - Stephen Hawking.
Gemini CLI invoked the GoogleSearch tool on its own to ground the answer in web data.
Command-Line Parameters
List all options:
gemini --help
Model Selection
Two models are available:
- gemini-2.5-pro (default) — highest capability
- gemini-2.5-flash — faster, lower cost
Choose at launch, or switch mid-session with the /model command:
gemini -m "gemini-2.5-flash"
Non-Interactive Mode
Run a single prompt without entering the interactive terminal:
gemini "What is the gcloud command to deploy to Cloud Run"
Non-interactive mode does not allow follow-up questions, tool-authorization prompts, or WriteFile/shell execution.
Built-in Tools
List them with:
/tools
- Codebase Investigator Agent — analyze repository structure
- Edit (replace) — modify file contents
- FindFiles (glob) — search for files by pattern
- GoogleSearch — web search with grounding
- ReadFile — read file contents
- ReadFolder (list_directory) — list directory contents
- SaveMemory — persist information across sessions
- SearchText — search within file contents
- Shell (run_shell_command) — execute shell commands
- WebFetch — fetch web page content
- WriteFile — create or update files
- WriteTodos — manage task lists
Tool Permissions
Sensitive operations — file writes, network access, shell execution — require explicit permission: Allow once, Allow always (for the session), or Deny. Use “Allow once” until you trust a tool’s behavior. The --yolo flag bypasses all permission checks and is not recommended.
Example: Web Search + File Write
Search for the latest headlines today in the world of finance and save them in a file named finance-news-today.txt
GoogleSearch fetches the news, WriteFile requests permission, and on approval the file is created. Reference it with the @ symbol, which points at files in the current directory:
read the contents of @finance-news-today.txt
Shell Mode
Press ! to toggle shell mode and run system commands directly:
! pwd
! ls -la
! cat finance-news-today.txt
Press ! again or hit ESC to return to AI mode. Shell output is added to the model’s context window, so Gemini CLI can reason about the results.
Extensions
Extensions package prompts, MCP servers, and custom commands into reusable, shareable modules that expand the CLI beyond its built-in tools. Browse official and third-party extensions at https://geminicli.com/extensions/.
Management commands:
# List installed extensions
gemini extensions list

# Install an extension from a git repository
gemini extensions install <source> [--auto-update]

# Uninstall extensions
gemini extensions uninstall <names..>

# Update all extensions
gemini extensions update --all

# Enable/disable extensions
gemini extensions enable <name>
gemini extensions disable <name>

# Link a local extension for development
gemini extensions link <path>

# Create a new extension from a template
gemini extensions new <path> [template]

# Validate an extension
gemini extensions validate <path>
Configuring MCP Servers
MCP servers connect Gemini CLI to external systems and APIs through the Model Context Protocol. For the protocol itself, see MCP Foundations and Architecture and MCP Connectors and Integrations.
GitHub MCP Server
Install the extension:
gemini extensions install https://github.com/github/github-mcp-server
Generate a GitHub Personal Access Token (PAT) from GitHub’s PAT documentation, then export it (or place it in a .env file):
export GITHUB_MCP_PAT=<your_token_here>
Verify inside the CLI:
/mcp list
Expected output:
🟢 github (from github) - Ready (40+ tools)
  Tools:
  - add_comment_to_pending_review
  - create_branch
  - create_pull_request
  - get_file_contents
  - issue_read
  ...
Test it:
Who am I on GitHub?
Gemini CLI calls the GitHub server’s get_me tool to return your profile.
Cloud Run MCP Server
Install the extension:
gemini extensions install https://github.com/GoogleCloudPlatform/cloud-run-mcp
Verify:
/mcp list
Expected output:
🟢 cloud-run (from cloud-run) - Ready (8 tools, 2 prompts)
  Tools:
  - create_project
  - deploy_container_image
  - deploy_file_contents
  - deploy_local_folder
  - get_service
  - get_service_log
  - list_projects
  - list_services

  Prompts:
  - deploy
  - logs
Deploy in natural language:
Deploy the current folder to Cloud Run as a new service named "my-app"
The CLI orchestrates the deployment through the Cloud Run server’s tools.
Practical Use Cases
1. Generate and Deploy an Application
Create a web app for a one-day technical event with six talks:
Generate a website for a 1-day event filled with technical talks. There are going to be 6 talks in a single track of 1 hour each. Each talk has the following information: title, 1 or maximum of 2 speakers, category (1 or maximum of 3 keywords), duration and a description. The website has a single page where users can see the schedule for the entire day with the timings. There will be one lunch break of an hour and the event starts at 10:00 AM. Keep a 10 minute transition between talks. I would like to use Node.js on the server side and standard HTML, JavaScript and CSS on the front-end. The users should be able to search the talks based on category.

I would like you to proceed in the following way:
1. Plan out how you would design and code this application.
2. Ask me for any clarifications along the way.
3. Once I am fine with it, do generate the code and provide me instructions to run and test locally.
Gemini CLI presents an architecture plan, asks clarifying questions, generates the server (server.js) and client (index.html, style.css, script.js), adds a .gitignore, and explains how to run the app locally.
Push it to GitHub with a follow-up:
Great! I would now like to push all of this to a new repository in my Github account. I would like to name this repository event-talks-app
Using the GitHub MCP server, it creates the repository, initializes Git (git init, git add, git commit), sets the remote, and pushes.
2. Working with an Existing Repository
Understand a codebase, document it, add a feature, and manage issues — one prompt at a time:
I would like to understand this project in detail. Help me understand the main features and then break it down into Server and Client side. Take a sample flow and show me how the request and response works.
Generate a README file for this project.
I would like to implement a new feature where the user is allowed to search by a specific Speaker too. First show me a plan of how you would implement this change and then we can generate the code.
I would like you to assess the application from a user experience point of view. Ease of use, responsiveness, helpful messages and more. Please come up with a list of improvements and I would like you to then create them as Issues in the Github repository.
Please go through the Issue: <ISSUE_URL> and understand what changes need to be made. First discuss the plan and then show the proposed changes in code.
3. Organizing Files and Folders
From a folder with mixed file types (e.g. Downloads):
cd ~/Downloads
gemini
Create the following folders "Images","Documents","Videos"
Go through all the files in this folder and then organize them by moving all the files ending with .jpg, .jpeg, .gif into the "Images" folder. Move all ".txt" files into the "Documents" folder. Move all the ".mp4" files in the "Videos" folder.
Summarize as you go:
For each document in the 'Documents' folder, create a txt file in the same folder named 'summary_ORIGINAL_FILENAME.txt' that contains a 3-sentence summary of the document's main points.
4. Processing Images (Multimodal)
Extract invoice data from image files. Create a folder with sample invoice images, launch the CLI there, then:
The current folder contains a list of invoice files in Image format. Go through all the files in this folder and extract the following invoice information in the form of a table: Invoice No, Invoice Date, Invoice Sent By, Due Date, Due Amount.
Add a derived column:
List all files with .png extension in this folder. Extract the invoice information from it by reading them locally and display it in a table format containing the following column headers: Invoice No, Invoice Date, Invoice Sent By, Due Date, Due Amount. Add a column at the end of the table that shows a red cross emoji in case the due date is in the past.
5. Querying a Database
Query a SQLite database in natural language. Install SQLite3 (pre-installed on most systems), download the Chinook sample database, and launch the CLI from that folder:
What tables are present in the file: chinook.db
How many employees are there?
What is the schema of the invoices table?
Which are the top 3 invoices by total and which customers have placed those invoices?
Gemini CLI writes the correct SQL and runs it through the sqlite3 command-line tool.
6. Generating Mock Data
Generate a JSON array of 3 synthetic customer reviews for a new smartphone. Each review should have 'reviewId' (string, UUID-like), 'productId' (string, e.g., 'SMARTPHONE_X'), 'rating' (integer, 1-5), 'reviewText' (string, 20-50 words), and 'reviewDate' (string, YYYY-MM-DD format).
Generate a JSON array representing 7 daily sales records for a mock API endpoint. Each record should include 'date' (YYYY-MM-DD, chronologically increasing), 'revenue' (float, between 5000.00 and 20000.00), 'unitsSold' (integer, between 100 and 500), and 'region' (string, either 'North', 'South', 'East', 'West').
Generate 5 SQL INSERT statements for a table named 'users' with columns: 'id' (INTEGER, primary key), 'username' (VARCHAR(50), unique), 'email' (VARCHAR(100)), 'password_hash' (VARCHAR(255)), 'created_at' (DATETIME, current timestamp). Ensure the password_hash is a placeholder string like 'hashed_password_X'.
Best Practices
- Start in a clean working directory to avoid unintended file operations.
- Use “Allow once” permissions until you trust a tool’s behavior.
- Review shell commands before granting execution.
- Reference files in prompts with the
@symbol. - Use non-interactive mode for scripting and automation.
- Enable or disable extensions to match the task at hand.
- Watch the context window — extensive shell output consumes tokens.
Advanced Configuration
GEMINI.md Context Files
A GEMINI.md file in your workspace gives the CLI persistent project context, loaded automatically for every interaction in that directory:
# Project Context

This is a Node.js event management application built with Express.

## Coding Standards
- Use ES6 syntax
- Follow Airbnb style guide
- Include JSDoc comments for all functions

## Testing
- Use Jest for unit tests
- Aim for 80% code coverage
Custom Extensions
# Create a new extension from a template
gemini extensions new my-extension

# Link for local development
gemini extensions link ./my-extension
Troubleshooting
- Tool permissions requested repeatedly — choose “Allow always” for operations you trust; permission scope resets between sessions, so trusted operations may prompt again in a new session.
- Requests failing or authentication errors — re-run the authentication flow, and confirm your account is within the free-tier request limits.
- An MCP server’s tools aren’t available — check its status with
/mcp list; a server must show as Ready before its tools can be called, and any required token (such asGITHUB_MCP_PAT) must be set in the environment. - Unexpected behavior on a local install — verify Node.js is 20 or newer and that
gemini --versionreports the expected build.
Related Resources
- Gemini CLI
- AI terminal agent
- MCP servers
- GitHub MCP integration
- Cloud Run deployment
- Built-in tools
- Shell mode
- Extensions system
- Autonomous workflows
- Tool permissions

 Ask Lynx Assist
More Guides
Run disciplined SEO A/B tests in seven steps — one metric, two variations, randomized segments, run to significance, track, analyze the winner, and iterate.
Build a topic cluster in seven steps — select and score a pillar, validate it, map subtopics, align to intent, architect internal links, publish, and measure.
Prepare your site for AI search in five steps — content architecture, entity consistency, E-E-A-T, structured data, and machine-readable structure.
Get your content cited by AI in seven steps — answer capsules, link-free extraction, original data, digital PR, community presence, consistent messaging, and tracking.
A seven-step walkthrough for setting up Google Search Console on a new site — property type, DNS verification, sitemap, GA4 link, users, URL checks, and a monitoring routine.